Before you begin
Using Anaconda Platform (Cloud) requires membership to an organization with a current subscription. If you’re working with an Anaconda representative, they will create and subscribe your organization for you. To get started:- Install conda on your computer.
- Authenticate with
anaconda login. - Configure access to your organization’s .
Installing conda
You can obtain conda by installing either Anaconda Distribution or Miniconda.If you already have conda installed, skip ahead to Authenticating to Anaconda Platform.
Authenticating to Anaconda Platform
- Open Anaconda Prompt (Terminal on macOS/Linux).
-
Verify that
anaconda-authis installed:If the output does not display package information, install it: -
Log in to Anaconda:
A browser window opens to complete the authentication process. If your organization has configured SSO, you are redirected to your company’s SSO login page.If you belong to more than one organization, use the arrow keys to select the organization you want to authenticate to.
API key storage
After authentication completes, an API key is generated and stored in your keyring:- Windows
- macOS/Linux
C:\Users\<USERNAME>\.anaconda\keyringEnvironment logging setup
If your organization has environments enabled,anaconda login prompts you to install the necessary plugins for environment logging and scanning. After setup, conda automatically logs any environment you create or update to your registered organization.
If you belong to multiple organizations, you are prompted to select one organization from the list before registration completes.
Issuing and setting your token
Your organization access token grants conda access to your organization’s channels and packages. To issue and set your token, run the following command:If you belong to more than one organization, you are prompted to select which organization to issue a token for.
Configuring conda to use organization channels
To access packages from your organization’s channels, add them to your.condarc file:
- Log in to anaconda.com/app.
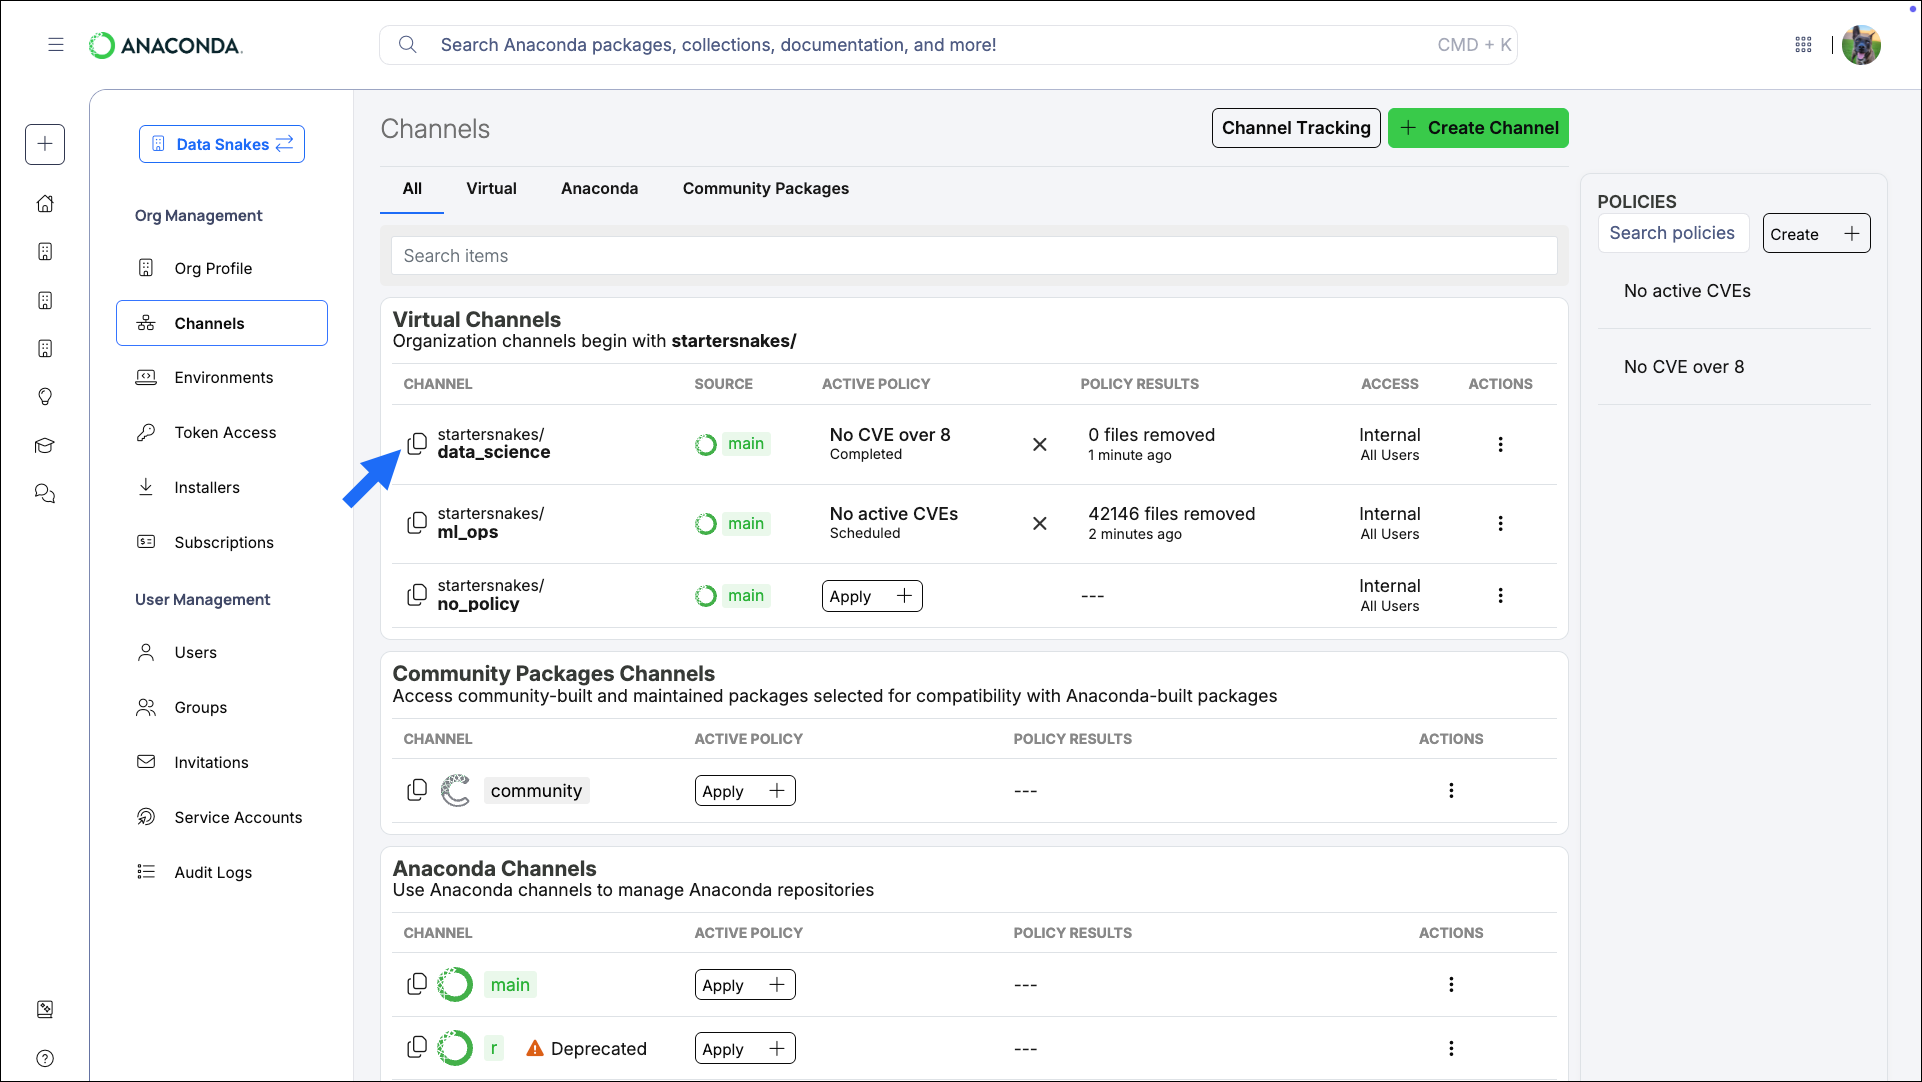
- Select Channels from the left-hand navigation.
-
Click Copy channel path.
-
Open Anaconda Prompt (Terminal on macOS/Linux) and run the following command:
This adds the specified channel to the top of your
channels:list, giving it top priority when conda searches for packages.Example .condarc fileIf you want to use your organization’s channels exclusively, ensure they are the only channels in your.condarc’schannels:list.
Using Anaconda behind a firewall or proxy (Optional)
Some companies have security policies that prevent communications on their network with external servers like Anaconda. Under these circumstances, you’ll need to connect to your company’s firewall/proxy server in order to download packages successfully. To connect to a firewall/proxy server, you’ll need to include aproxy_servers: section in the .condarc file that contains the URL to the proxy server. This entry must also contain a username and password for logging in to the proxy server. Speak with your IT Administrator if you do not have this information.
There are no commands to include this portion of the .condarc file, so you need to manually include the following lines:
HTTP_PROXY and HTTPS_PROXY environment variables to utilize the proxy server. To export your environment variables, open a terminal and run the following commands:
Verifying your configuration
Test your configuration by creating an environment and installing a package:-
Create a test environment:
-
Verify the environment was created:
-
Activate the environment:
-
Install a package:
-
If necessary, delete the environment to clean up: