- Provide a common collaboration space
- Ensure consistent tooling
- Manage access and costs
Anaconda.com users can create and belong to multiple organizations. However, Enterprise Managed Users are scoped to a single organization and cannot be added to another.
Creating an organization
- Sign in to Anaconda.com.
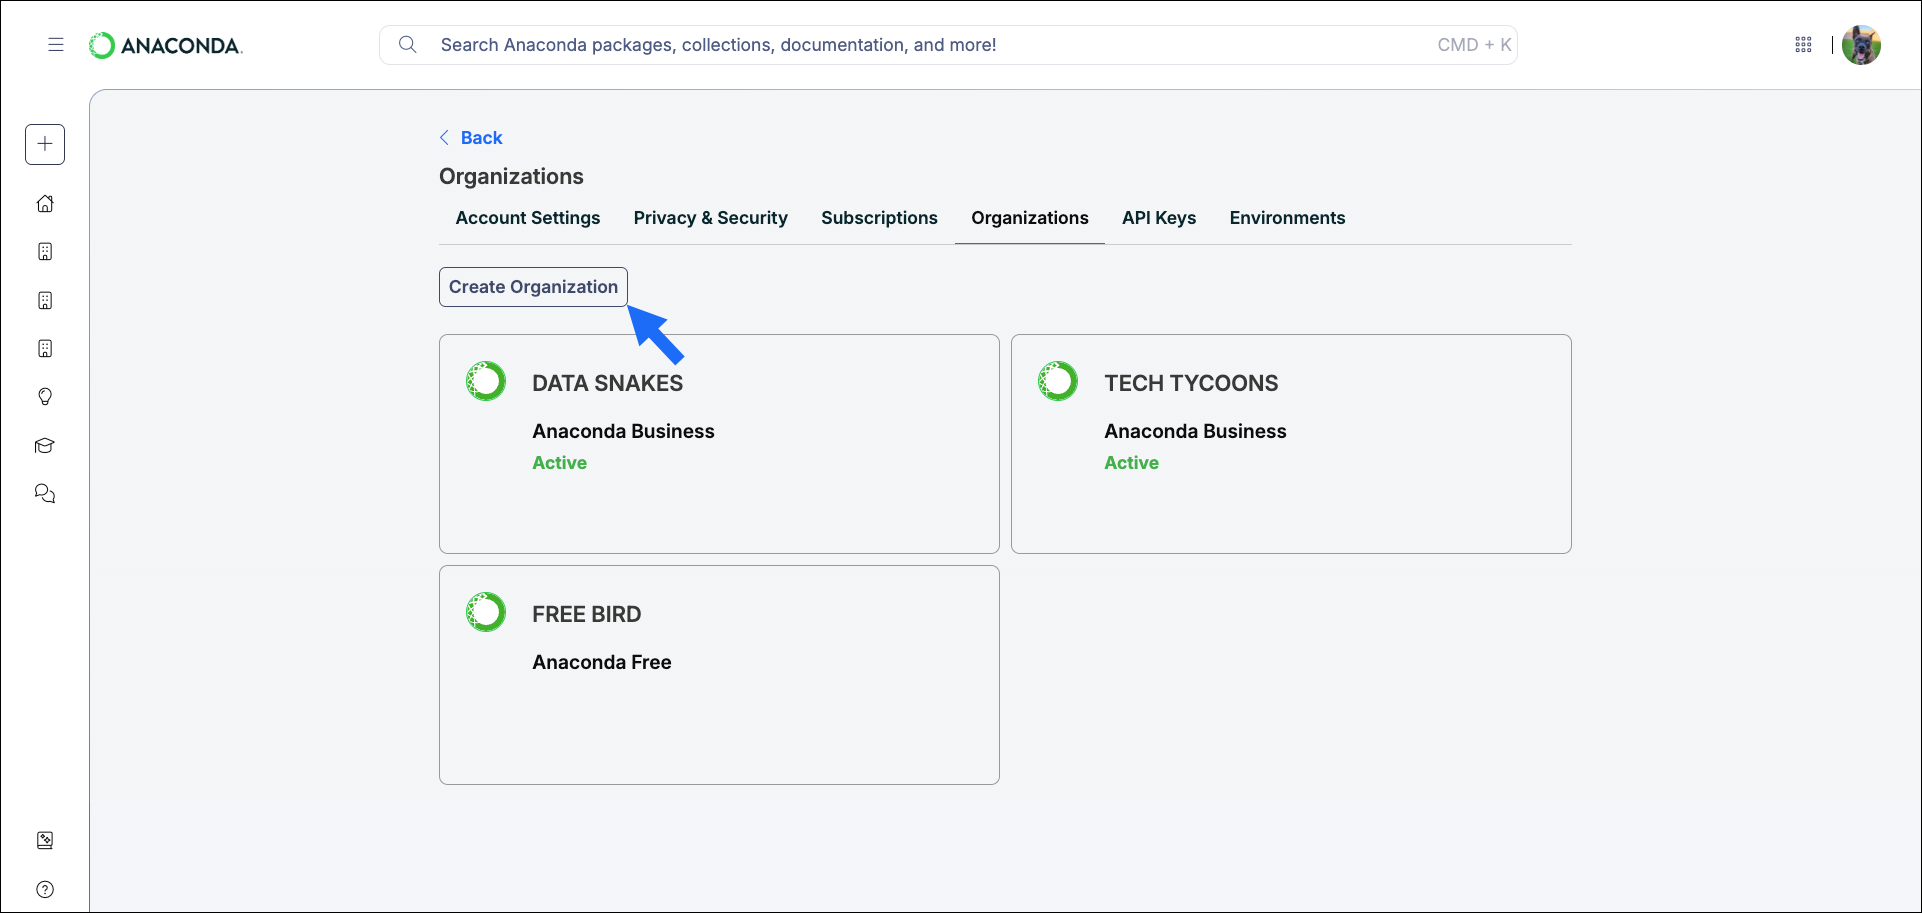
- Navigate to your Organizations page.
-
Click Create Organization.
-
Follow the on-screen instructions to set up your organization. Don’t worry if you don’t have all the necessary information; you can come back and complete your organization’s information at a later time.
As the creator, you are the owner and default admin of the organization.
Your Organization Name is the publicly displayed name of your organization. It can be changed at any time after your organization is created.
Your Organization ID can be found in your organization’s Uniform Resource Locator (URL) identifier:https://anaconda.com/app/organizations/<ORG_ID>/<CHANNEL_NAME>.The Organization’s URL must be unique and cannot be changed.
Subscribing your organization
For information and help with managing subscriptions, see Subscriptions.Organization settings
Organization administrators can control which Anaconda Platform and Anaconda Desktop features are available to their members.-
From the Org Profile page, select Edit Organization Settings beside the organization name.

-
Toggle settings
ONorOFFas needed. - Click Save Changes.
Available organization settings
Deleting an organization
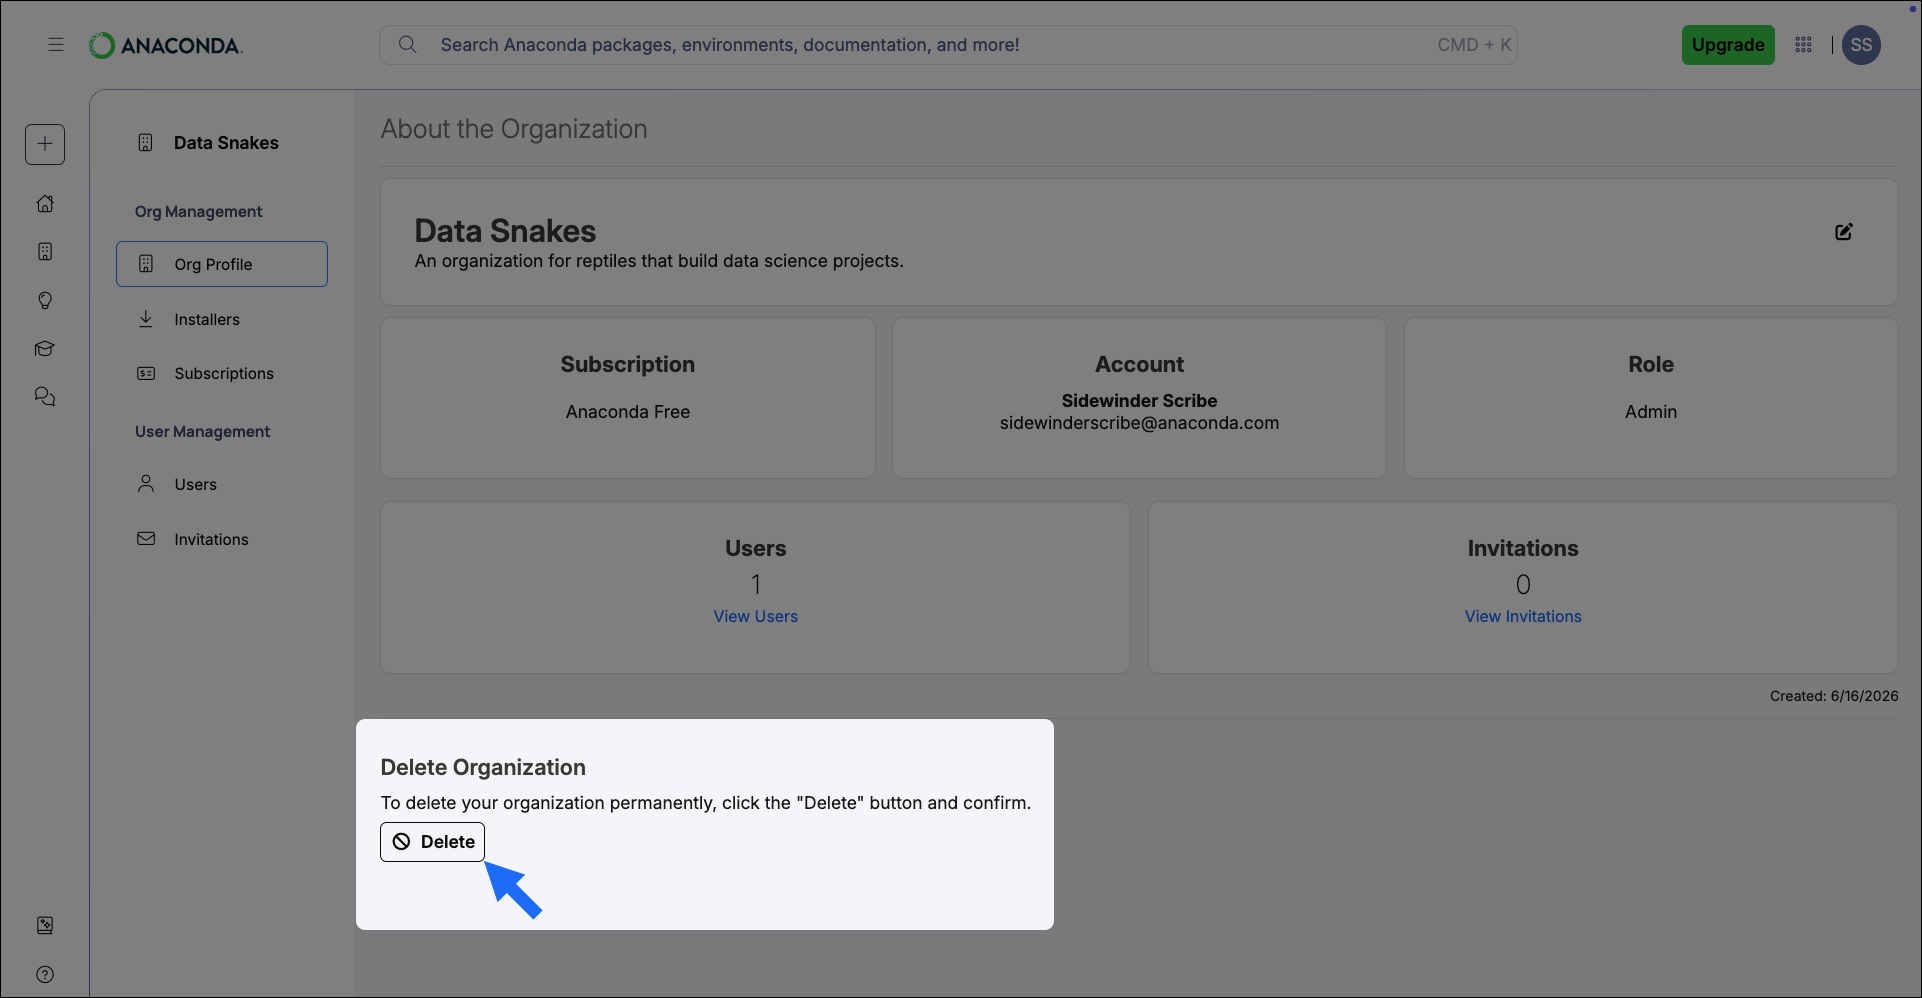
Administrators that establish their own organizations can delete them at any time. If your organization is managed by Anaconda, contact your Anaconda account representative to delete your organization.This action is permanent and cannot be undone.
-
On the Org Profile page, click Delete.
-
Type your organization ID to confirm.
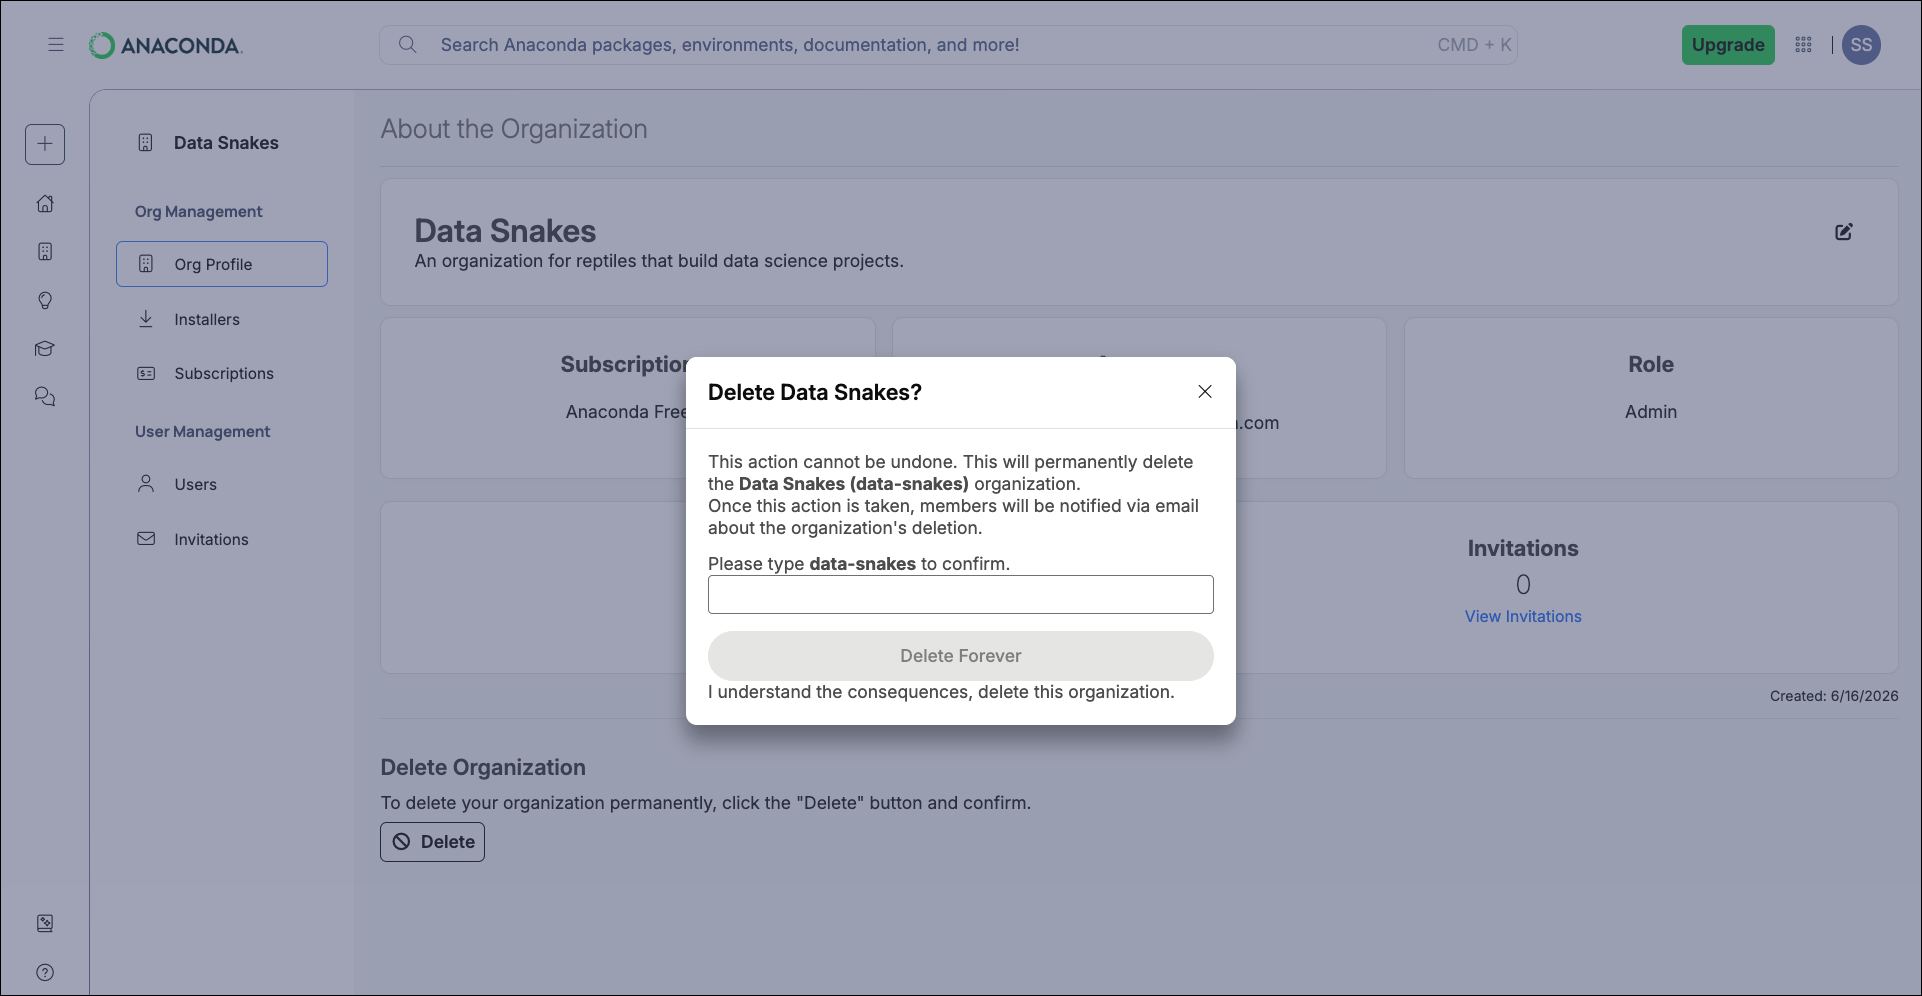
- Click Delete Forever.