An organization is a group of Anaconda Cloud accounts with a managed set of rights and permissions. Creating an organization for your team in Anaconda Cloud allows you to:

  • Provide a common collaboration space
  • Ensure consistent tooling
  • Manage access and costs

Anaconda Cloud users can create and belong to multiple organizations.

Creating an organization

  1. Sign in to Anaconda Cloud.

  2. Navigate to your Organizations page.

  3. Click Create Organization.

  4. Follow the on-screen instructions to set up your organization. Don’t worry if you don’t have all the necessary information; you can come back and complete your organization’s information at a later time.

  • As the creator, you are the owner and default admin of the organization.

  • The Name of Organization is the publicly displayed name of your organization and can be changed at any time after it is created.

  • The Organization ID is the organization’s Uniform Resource Locator (URL) identifier. The Organization’s URL must be unique and must be unique. Once the Organization ID is assigned, it cannot be changed.

Subscribing your organization

For information and help with managing subscriptions, see Subscriptions.

Managing large organizations

Manually adding members to your organization via the UI can be tedious when your user base numbers in the hundreds or more. Expedite the process using the Anaconda Cloud API to add users to your organization, assign them a seat, and issue them a token.

Automate onboarding your organization members using the API!

Managing organization members

Inviting members to your organization

With an organization created and multi-license subscription purchased, you are ready to invite users to your organization and assign them seats (licenses).

  1. Navigate to your Organizations page.

  2. Select your organization.

  3. Select Invitations in the left-hand navigation.

  4. Select Invite Users, enter your team member’s email address, and then press tab. Repeat this process to continue adding members.

    Alternatively, you can select Bulk Upload and upload a .csv file containing your team members’ email addresses (for larger organizations).

  5. Click Invite Members to send the invitations.

Once you invite your member(s), they will receive an email to join the organization. Accepting the invitation in the email redirects them to the Anaconda Cloud login page. Once logged in, they can accept the invitation and join the organization.

If the invited team member does not have an Anaconda Cloud account, they can create one using the email that the invite was sent to, then join the organization.

Reissuing an invitation

Invitations expire after seven days. You can reissue an invitation to a user to provide them with another seven days to accept the invitation.

  1. Navigate to your Organizations page.
  2. Select your organization.
  3. Select Invitations in the left-hand navigation.
  4. Select the user you need to reissue an invitation for.
  5. Click Resend Email Invite.

Removing an invitation

If you have invited someone to your organization in error, you can remove the invitation you sent. This also prevents the invitation recipient from being able to join your organization.

  1. Navigate to your Organizations page.
  2. Select your organization.
  3. Select Invitations in the left-hand navigation.
  4. Select the user whose invitation you need to remove.
  5. Click Remove Invite.

Assigning organization seats

Once a member has accepted their invitation, you must assign them a seat (license) before they can issue themselves a token and access your org channels.

  1. Navigate to your Organizations page.
  2. Select your organization.
  3. Select Users from the left-hand navigation.
  4. Select the user you need to assign a seat to.
  5. Click Assign Seat.

Once you assign a member a seat in your organization, they will receive an email with a link to join the organization. Instruct them to open the link and go to the Token Access page to issue themself a token. For more information, see Tokens.

Changing a member’s role

A user’s role determines their permissions within the organization.

  1. Navigate to your Organizations page.

  2. Select your organization.

  3. Select Users from the left-hand navigation.

  4. Select the user whose permissions you need to change.

  5. Click Assign as Account Admin, Assign as Billing Manager, or Assign as Member. Available options are based on the user’s current role.

    You must be an administrator to update user roles. Administrators cannot change their own role.

  6. Confirm your role assignment to set the user’s permissions.

Revoking a member’s seat

If you have a user who no longer requires a seat in your organization, you can revoke their seat while retaining the user as a member of the organization. Revoking a members seat will invalidate their token and prevent them from accessing your organization channels.

  1. Navigate to your Organizations page.
  2. Select your organization.
  3. Select Users from the left-hand navigation.
  4. Select the user whose seat is being revoked.
  5. Click Revoke Seat.
  6. Click Revoke Seat to confirm.

Removing a user from the organization

If you want to remove a member from your organization completely:

  1. Navigate to your Organizations page.
  2. Select your organization.
  3. Select Users from the left-hand navigation.
  4. Select the user you’re removing from the organization.
  5. Click Remove from Organization.
  6. Click Remove User to confirm.

Purchasing additional seats

You can purchase additional seats for your organization at any time.

  1. Navigate to your Organizations page.
  2. Select your organization.
  3. Select Subscription from the left hand navigation.
  4. Click Manage Subscription to purchase additional seats.

Leaving an organization

To leave an organization you’re a member of:

  1. Navigate to your Organizations page.
  2. Select your organization.
  3. Click Leave <ORG_NAME> Organization.

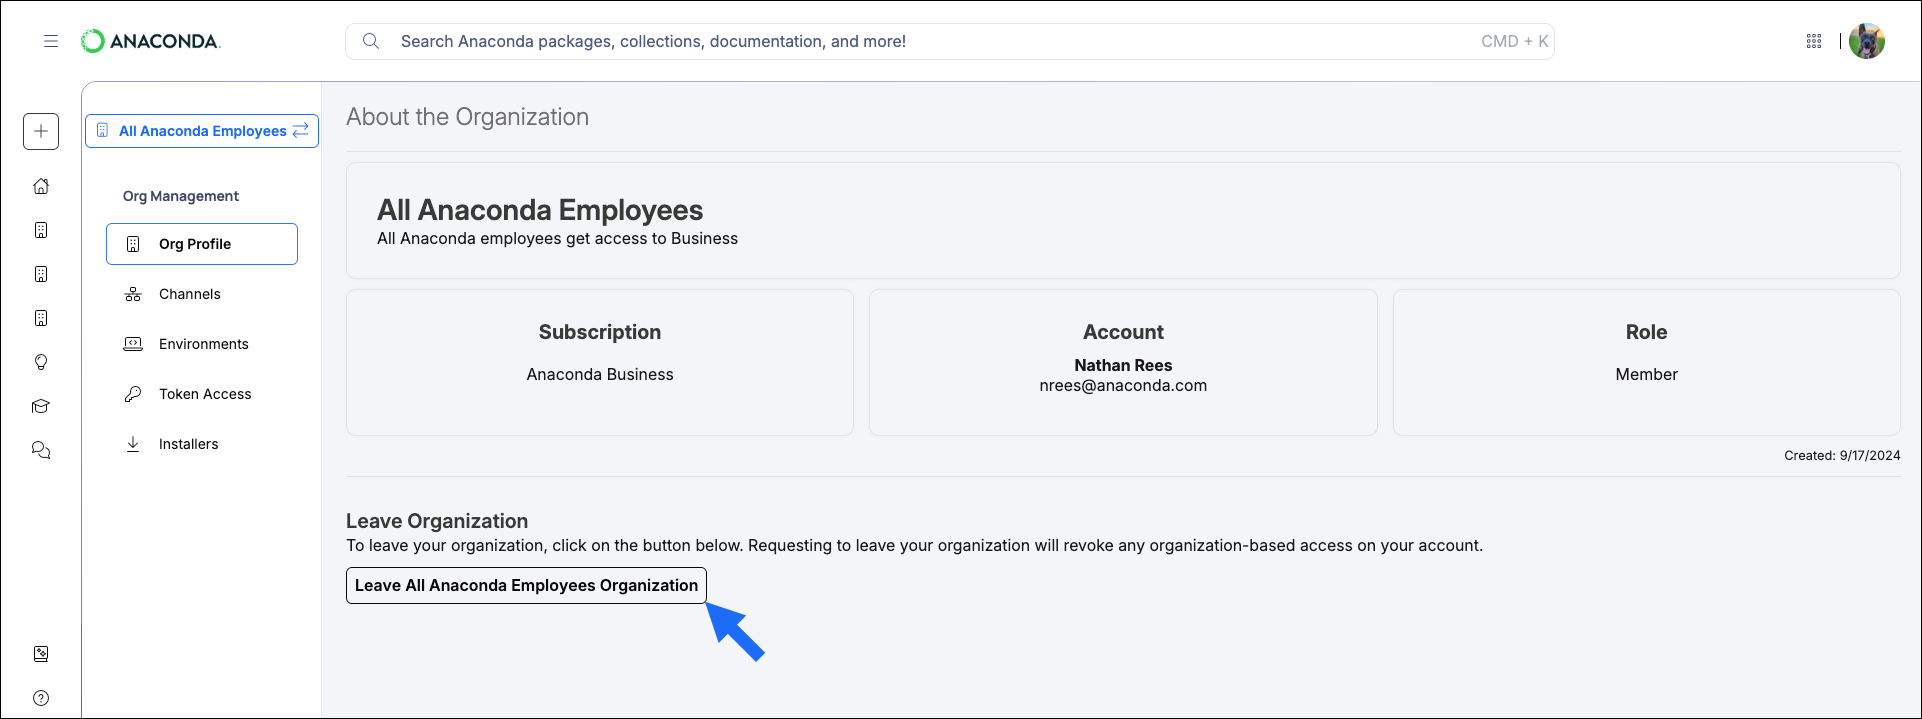
Users with the administrator role cannot leave the organization.

Editing organization settings

Organization administrators are provided with some control over the access their members have to Anaconda Cloud assets, ensuring that members have appropriate access to the tools and data they need, while safeguarding sensitive information by restricting access where necessary.

  1. Navigate to your Organizations page.
  2. Select your organization.
  3. From the Org Profile page, click Edit Organization Settings beside the organization name.
  4. Toggle settings ON or OFF as needed.
  5. Click Save Changes.

Available organization settings

  • AI Navigator: Controls your organization members’ ability to access AI Navigator.
  • Cloud Notebooks: Controls your organization members’ ability to access cloud notebooks.

The AI Assistant for Cloud Notebooks is disabled by default for organizations with a Business tier subscription. To enable the AI Assistant for your organization, submit a request through the support portal.

Blocking access to these Anaconda Cloud assets prevents your organization members from using them completely, even when working outside of your organization.

Was this page helpful?