Anaconda recommends installing RStudio during a scheduled maintenance interval to prevent users from creating new sessions during installation. Existing sessions or deployments do not need to be halted.
Prerequisites
These instructions are written for Workbench version 5.5.2 or later, and require the/tools volume from managed persistence to be enabled. For more information, see Mounting an external file share.
Installing RStudio
Launching the RStudio installer project
- Download the RStudio installer project and save it to your machine.
-
Log in to Workbench as a user with read/write access to the
/toolsvolume. - Use the Create+ / Upload Project dialog to upload the RStudio installer project you just downloaded. Anaconda recommends using the JupyterLab editor for this task.
- Open a session for the RStudio installer project.
Obtaining the RStudio Server binaries
Now that your project is created, you need to obtain and install the Red hat Package Manager (RPM) files and pull them into the project session. There are multiple methods for accomplishing this.Downloading RStudio directly from Workbench
Anaconda recommends users with clusters that have internet access download RStudio directly through Workbench.- From your RStudio project session, open a new terminal window.
- If you need to set proxy variables manually to access the internet, do so now.
-
Run the command:
Example output from the download script
Using the download script on another Unix server
If you need to download the binaries on a separate machine first, use thedownload_rstudio.sh script.
-
Download the script file
download_rstudio.shfrom the project to your desktop. -
Move the script file to a machine that can run
bashandcurland has connectivity todownload2.rstudio.org. -
Run the command:
-
If necessary, transfer the binaries
rs-centos7.rpmandrs-centos8.rpmto the machine from which you access Workbench. - Use the JuptyerLab upload button to upload both binaries into the RStudio installer project.
Running the installation script
Now that you have obtained the RStudio binaries and uploaded thers-centos7.rpm and rs-centos8.rpm files to your RStudio installer project:
- Open a terminal window.
-
If you have previously installed content into
/tools/rstudio, remove it now by running the following command: -
Install RStudio by running the following command:
The script will verify that all prerequisites are met before performing any file modifications.
Example output from the RStudio installer
Enabling RStudio as an editor
With installation complete, the next step is to add RStudio to the editor selection list within Workbench’s User Interface (UI).- Access your Kubernetes cluster resource management console.
-
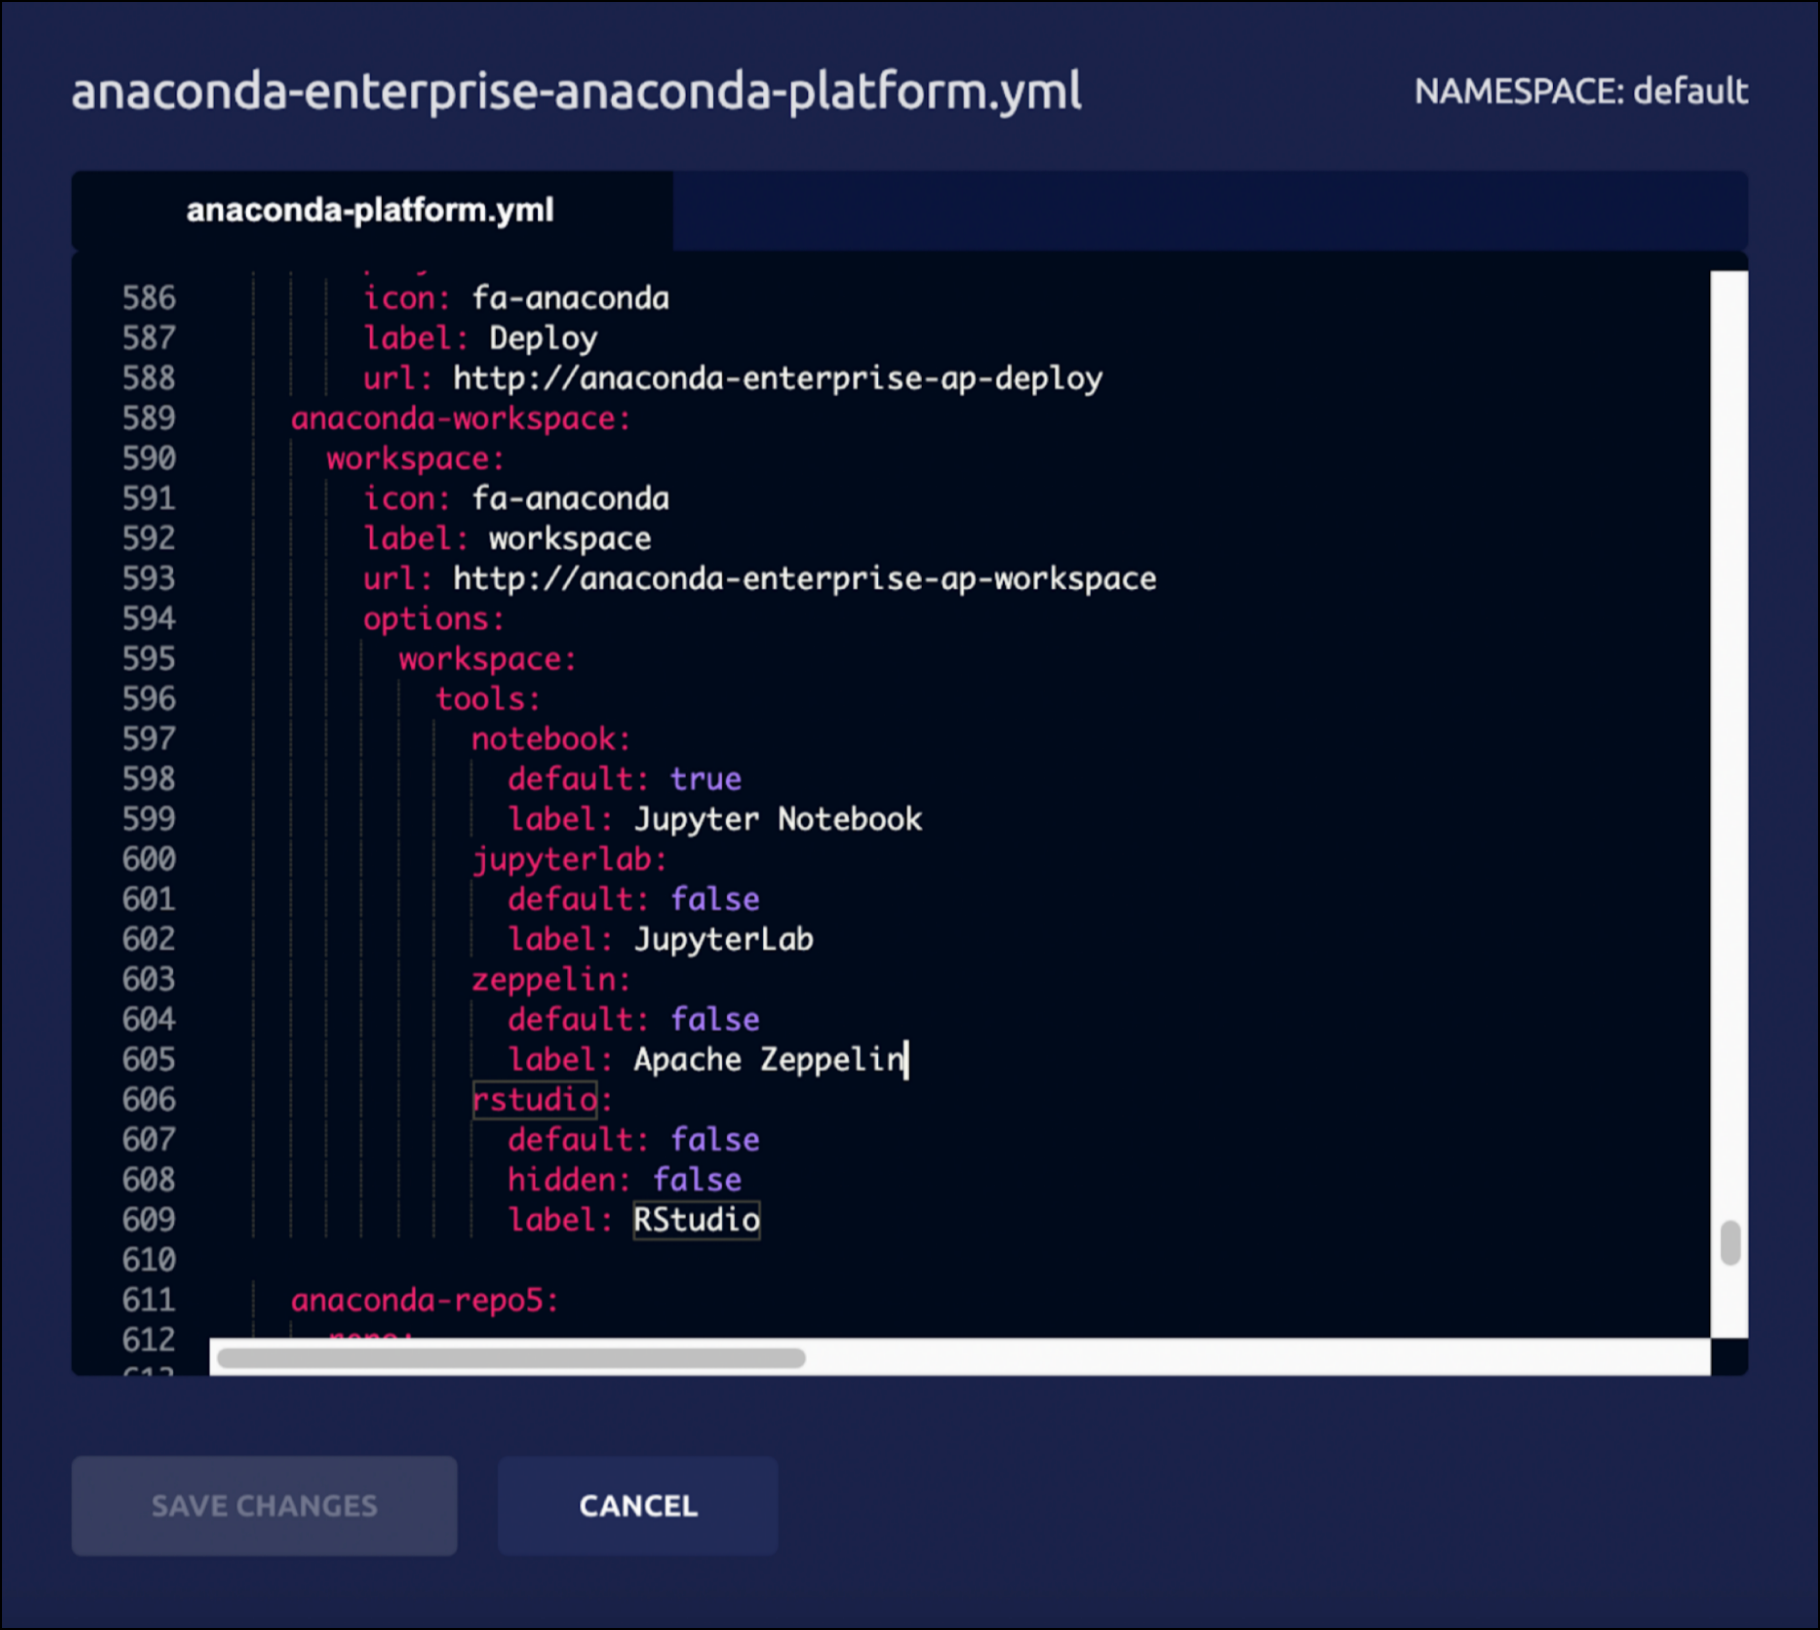
Open the
anaconda-enterprise-anaconda-platform.ymlconfigmap and search for thetools:section of the file. -
Add the following line, nested under
tools:: - Save your work and close the file.
-
Open a terminal and restart the
workspaceanduipods by running the following command:
Minor disruptions in UI responsiveness may occur while the pods are stabilizing. If you have allowed users to continue working during this installation, they may need to refresh their browsers.
Verifying your installation
- If necessary, stop the session for your RStudio installer project.
- Go to the RStudio installer project’s Settings page.
- Open the Default Editor dropdown, select RStudio, and then click Save.
- Start a new session and wait for the editor to launch.
- Click on the Logs tab.
- Search the editor logs for a section titled Workbench R Session Manager and look for errors there and below.
- Copy the full content of this log so it can be shared with Anaconda.
- Stop the session completely.
- Go to the project’s Settings page, and change the Default Editor back to JupyterLab.
- If your errors are obvious to you and understand what corrective action is needed, open a new session to make those changes.
Disabling RStudio
To remove RStudio as an editor option for new projects:- Log in to your Kubernetes administrative console.
-
Open the
anaconda-enterprise-anaconda-platform.ymlconfigmap file. -
Search for the
tools:section of this file and remove the following line: - Save your work and close the file.
-
Open a terminal and restart the
workspaceanduipods by running the following command:Existing projects that are using RStudio will still have access to the editor.
Uninstalling RStudio
To permanently uninstall RStudio, you need to remove the/tools/rstudio directory. Anaconda recommends removing the directory from outside Workbench, if possible. If necessary, instructions are provided to remove RStudio using Workbench.
Uninstalling RStudio using Workbench
-
Log in to Workbench as a user with read/write access to the
/toolsvolume. -
Remove
/tools/rstudiofrom within a Workbench session by running the following command:
Upgrading to a new version of Workbench
Upgrading to a new version of Workbench will not affect your RStudio installation; however, the upgrade process will cause the editor to be hidden. Once the upgrade is complete, you’ll need to enable RStudio as an editor again.Upgrading RStudio
Anaconda recommends performing a fresh installation when upgrading RStudio.- Launch the RStudio installation project.
- Obtain the RStudio server binaries.
-
(Optional) Rename your existing RStudio directory. If your installation is unsuccessful for any reason, you can rename the existing RStudio directory back to its original state to avoid downtime. Run the command:
- Instruct all users to stop all sessions currently using RStudio.
- Run the installation script.
- Enable RStudio as an editor.
- Verify your installation.
-
If necessary, remove the old installation
/tools/rstudio.old. Run the command: - Log out of Workbench.
Installing RStudio on additional Workbench instances
Once you have successfully installed RStudio on one instance, you can copy and move the/tools/rstudio directory to another instance, reducing the amount of work involved for a second install.
Create an archive of an existing installation
- Log in to an instance of Workbench with a running RStudio installation.
- Open a session using the JupyterLab editor.
- Open a terminal window.
-
Create the archive. Run the command:
- Download this file to your desktop. Once you have done so, you can remove the file from your Workbench session.
Move the archive to a new instance
- Open any session using the JupterLab editor.
-
Upload the archive
rstudio.tar.gzinto the project. - Open a terminal window.
-
(Optional) Rename your existing RStudio directory. If your installation is unsuccessful for any reason, you can rename the existing RStudio directory back to its original state to avoid downtime. Run the command:
-
Install the archive. Run the command:
- Verify your installation.
-
If necessary, remove the old installation
/tools/rstudio.old. Run the command: - Enable RStudio as an editor.
- Log out of Workbench.