- Configuring resource profiles via ConfigMap
- Configuring resource profiles via Helm chart
- Connect to your instance of Workbench.
- View a list of your configmaps by running the following command:
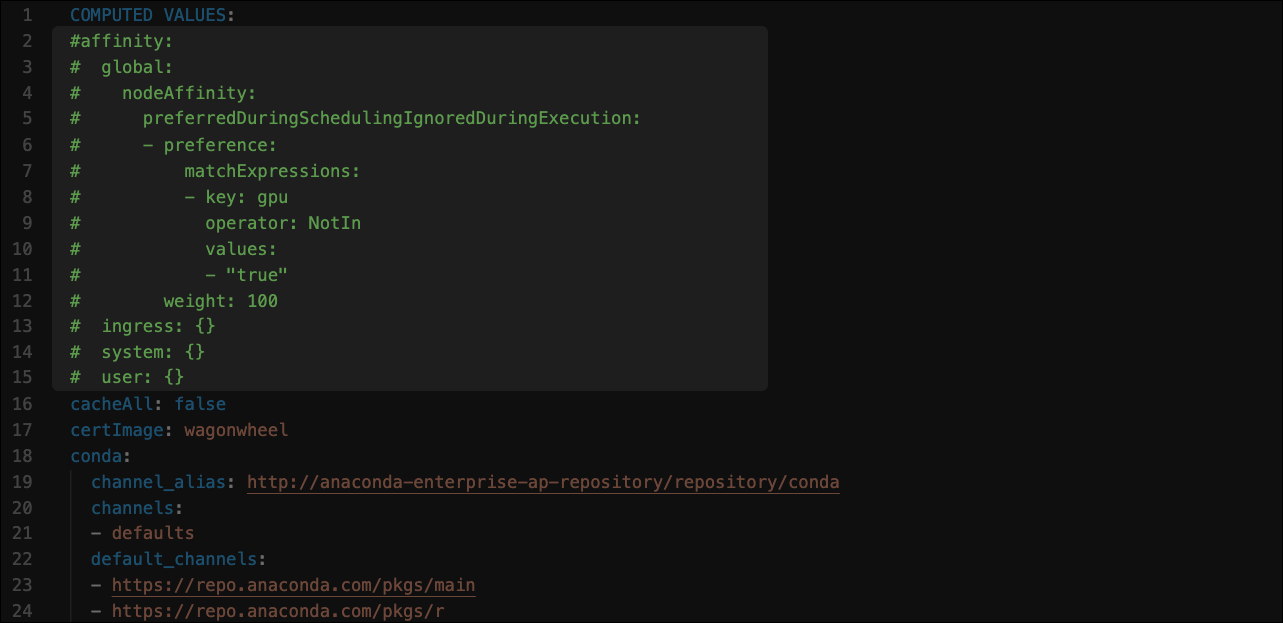
- Edit the
anaconda-enterprise-anaconda-platform.ymlfile.
- Find the
resource-profiles:section of the file. - Add any additional resources using the following examples as a template for your resource profiles, then customize them for your environment:
Resource profile examples
Resource profile examples
Resource profiles display their
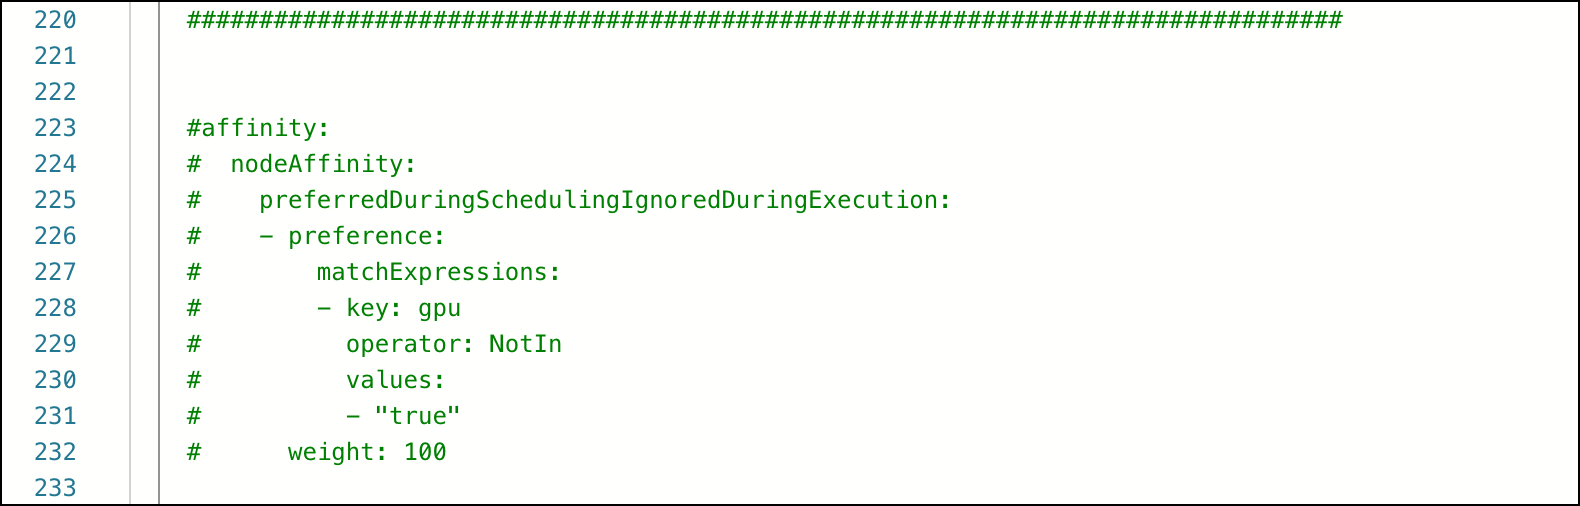
description: as their name. Profiles are listed in alphabetical order, after the default profile.- (Optional) By default, CPU sessions and deployments are allowed to run on GPU nodes. To reserve your GPU nodes for sessions and deployments that require them, comment out the
affinity:specification in the file as shown:
- (Optional) If you need to schedule user workloads on a specific node, add a
node_selectorto your resource profile. Use node selectors when running different CPU types, such as Intel and AMD; or different GPU types, such as Tesla v100 and p100. To enable a node selector, addnode_selectorto the bottom of your resource profile, with themodel:value matching the label you have applied to your worker node.
GPU node selector example
GPU node selector example
- Save your changes to the file.
- Restart the workspace and deploy services by running the following command: